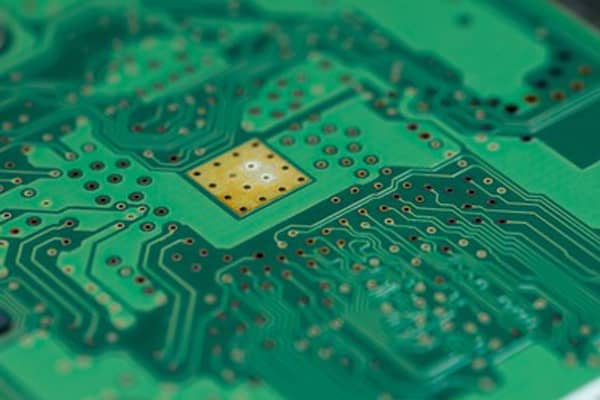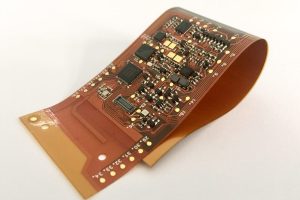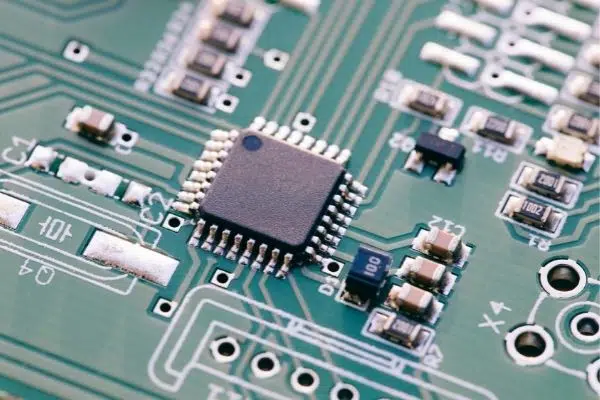
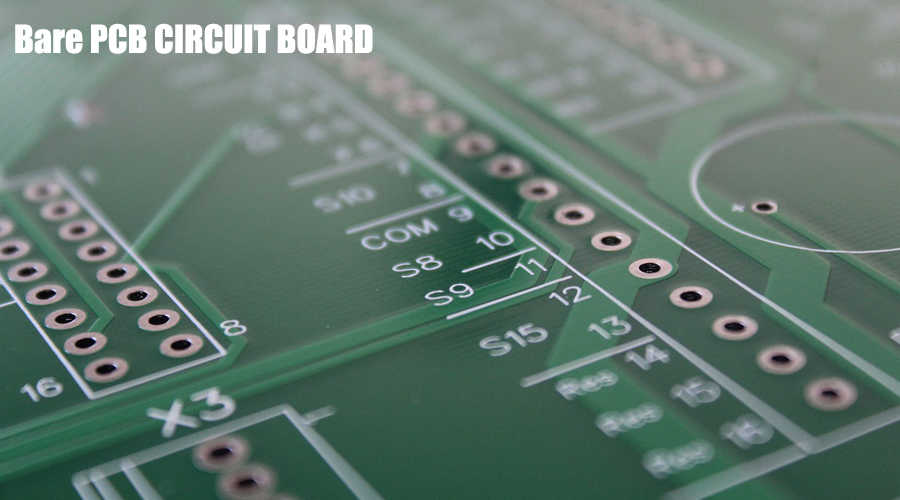
- PCB board
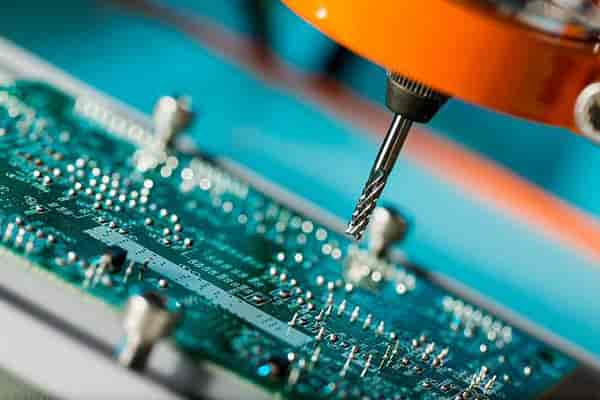
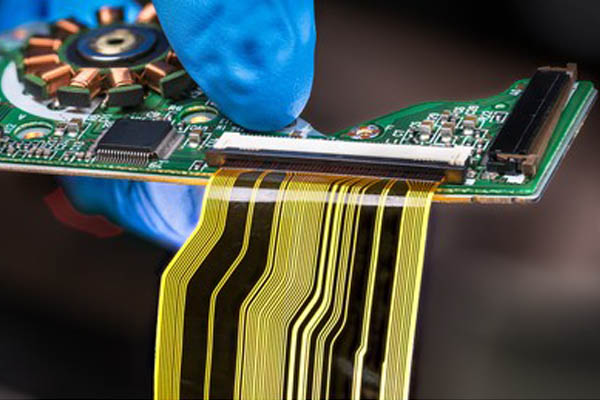
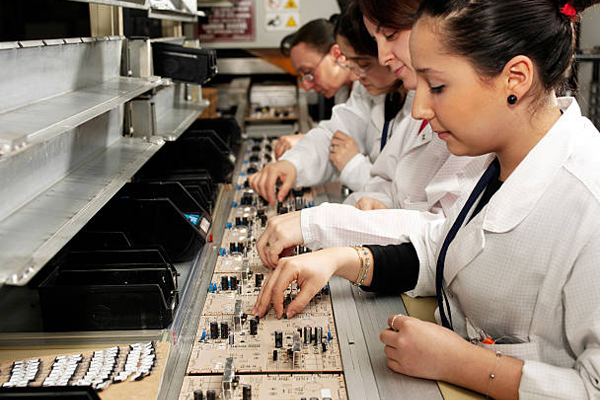
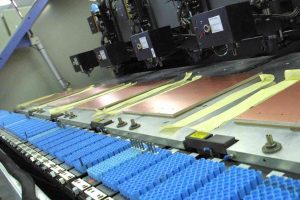
Unpacking PCB: Whether it is hand-printed solder paste or SMT factory uses an automatic printer to print solder paste, the number of unpacked PCBs is specified to prevent the PCB pads from oxidizing when exposed to the air for a long time. Especially the PCB with OSP as the surface finish should pay special attention to this point. When producing in the SMT factory, after unpacking the PCB, it is necessary to paste a label, especially the SN serial number label, and collect it in the SFCS system in time for follow-up tracking. With the advancement of automation, some production lines are equipped with manipulators to automatically grab the labeled PCB into the track and proceed to the next step. If it is a manual operation, the operator needs to use gloves to avoid touching the exposed pads of the PCB and affecting the subsequent soldering quality. Several essential parts of the quality of solder paste printing are solder paste, stencil, squeegee, solder paste printer, etc.
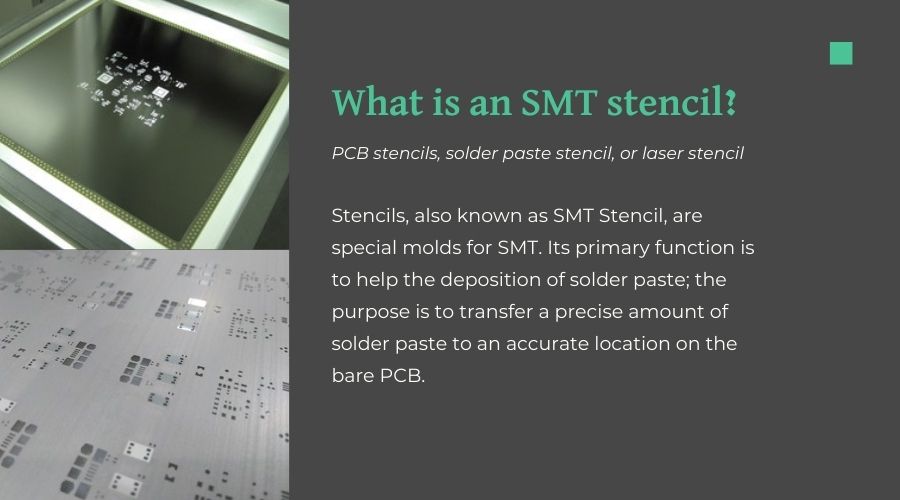
- PCB stencil(Matching with PCB)

The stencil is divided into Framed PCB stencil and a frameless PCB stencil. The PCB stencil used needs to match the PCB board. Before using the PCB stencil, you need to check its appearance carefully to ensure good. Improper cleaning, storage, and transportation of PCB stencils will cause blockage, deformation, and damage to the opening of the stencil.
During the solder paste printing process, the pad corresponding to the position where the stencil is blocked will have no solder paste or insufficient solder paste, which will cause the problem of empty soldering or less solder.
- Solder paste-coated on the PCB pads for soldering components
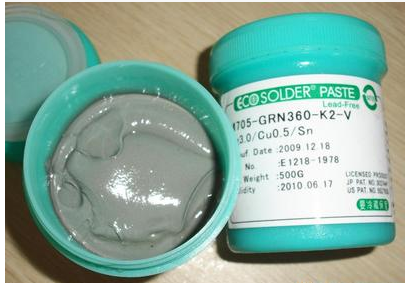
Solder paste contains solder powder, flux, etc. To make the solder paste exhibit good soldering performance, it is necessary to ensure the correct storage of the solder paste and use the correct model, temperature, and mixing method. As the requirements for environmental protection are getting higher and higher, solder paste has long changed from leaded to lead-free materials.
Temperature recovery is taking out the solder paste from the refrigerator and placing it in a typical environment so that the temperature of the solder paste will naturally rise from the storage temperature to the ambient temperature. No artificial external heating or other operations can be used in the rewarming process.
The solder paste needs to be thoroughly stirred before use to evenly distribute the flux and tin powder and give full play to its various characteristics.
The mixing method of solder paste is divided into manual mixing and machine mixing, and both can be used. The manual mixing time is about 4 minutes, and the machine mixing time is about 1-3 minutes.
- Clean and flat desktop or platform
A large, flat, and clean operating platform helps increase our working space
- Good lighting
A good lighting environment helps us better check the PCB stencil’s quality and improve our working environment.
- SMT Stencil Cleaning wipe paper
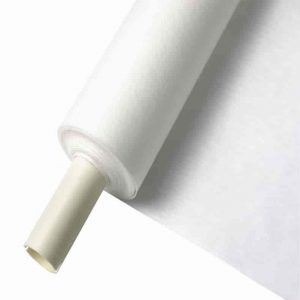
SMT Stencil Cleaning wipe paper can effectively remove the dust attached to the PCB stencil and circuit board; keeping the electronic circuit board clean can significantly reduce the waste rate and greatly improve the production efficiency and product quality. The stencil wiping paper has another function to clean the stencil after the stencil is used.
- Scraper (shovel)-used to apply solder paste.

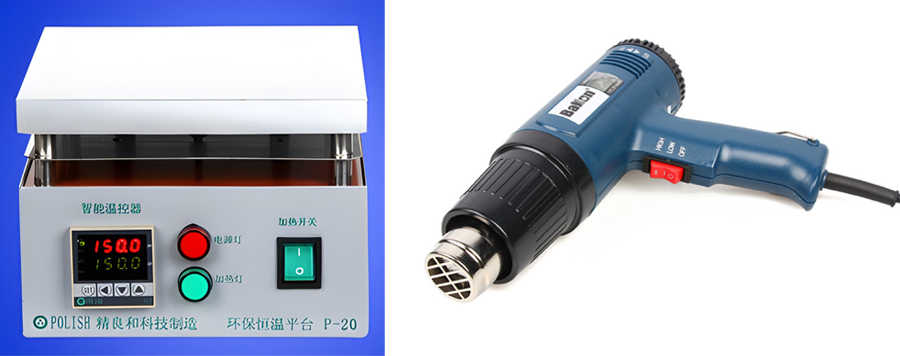
- A hot air gun or smart thermostat-used to heat the PCB board and melt the solder paste.
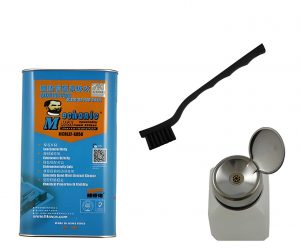
- cleaning agent for printed circuit boards and brush- Used to clean PCB boards
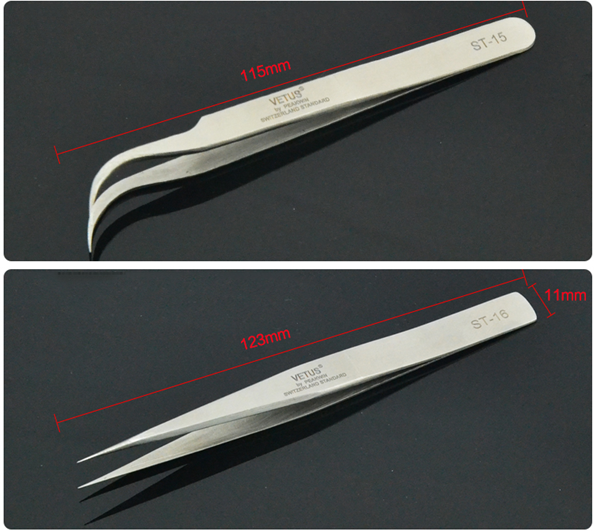
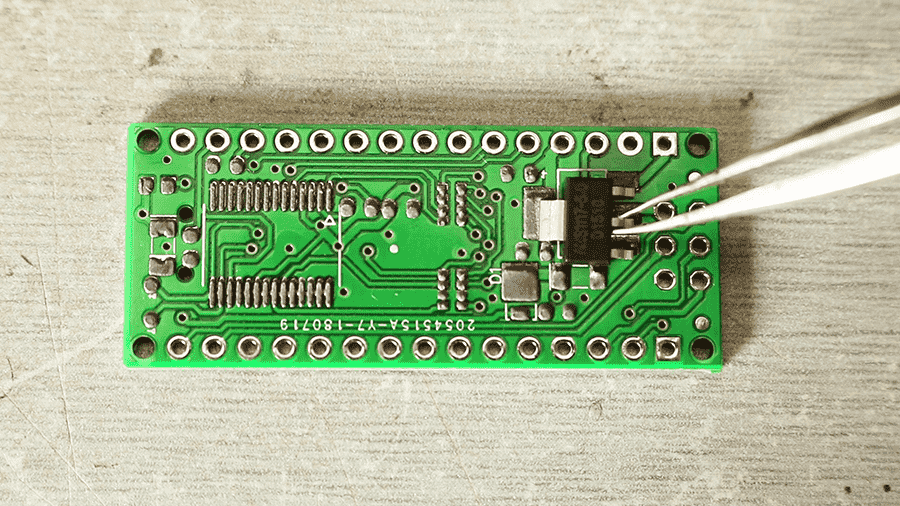
- Tweezers-used to grip and place components
Fixture-used to fix the circuit board to prevent the circuit board from moving
Step1. Take the solder paste out of the refrigerator and let it warm up naturally;
Step 2. Check before printing
While taking out the solder paste and waiting for it to warm up, we can do the following at the same time:
- Check whether the PCB to be printed is correct;
- Check whether the surface of the PCB board to be printed with solder paste is complete and free of dirt;
- Check whether the PCB stencil is consistent with the PCB and whether its tension meets the printing requirements;
- Check whether the SMT stencil is clogged. If there is any clogging, you need to wipe the stencil with dust-free paper and rubbing alcohol and dry it with a hot air gun. When using the hot air gun, keep a distance of 3-5cm from the steel mesh;
Step3. After all preparations are completed, we can start solder paste printing.
- Set the temperature of the smart thermostat to 250°;
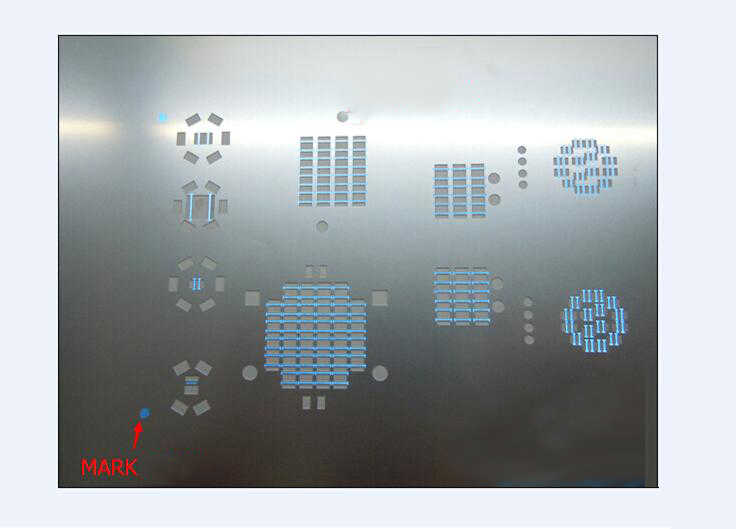
- Align the Mark point on the PCB with the mark point on the stencil. The purpose of this is to accurately position the pad on the PCB and the opening on the stencil.
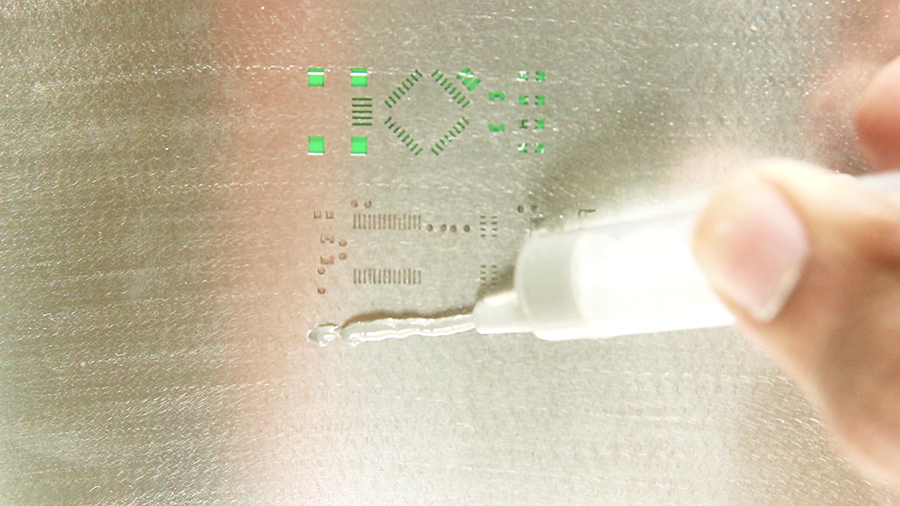
- After fixing the circuit board and stencil that has been aligned with the mark point, use a spatula to evenly apply the solder paste to the opening of the stencil.

- Lift the stencil to separate it from the PCB, do not drag at this time.
- According to the BOM table, use tweezers to place the components on the corresponding pad positions on the PCB board.
- The temperature of the smart thermostat reaches 250°. At this time, wait for about 2 minutes. After the solder paste on the PCB pad is wholly melted, gently take it out and place it on the flat surface of a small iron block. This process must be handled carefully because the solder paste has not yet solidified, which will cause the component to fall off.。
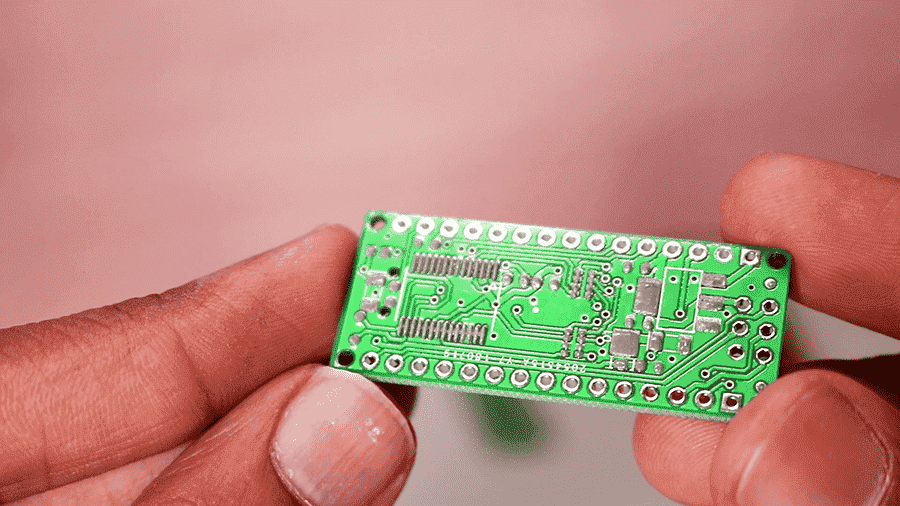
- After the PCB board is cooled, check whether the components have been soldered, and then clean the PCB board with board washing water and a brush.
In the process of solder paste printing, you need to pay attention to:
- After every 5pcs of printing, the stencil needs to be cleaned. If there are originals with dense pins on the PCB, such as “BGA/QFP/SOP,” etc., it needs to be cleaned every 3pcs of printing.;
- If you find lousy printing, you need to clean the badly printed PCB. When cleaning poorly printed PCBs, do not scratch the surface of the PCB directly with complex objects to prevent scratching the surface of the PCB; if there are gold fingers on the PCB, avoid the gold fingers and use dust-free paper and a little alcohol to wipe repeatedly. Blow-dry with an air gun until no solder paste remains。
At this point, the use of the stencil to print solder paste for the PCB board has been completed, and the following work to be completed is to recover the solder paste, scrapers, shovel, and clean the SMT stencil.